Hello gorgeous!
I am so excited to share today’s #MakeitinMay post with you because it has to be my favourite one so far. Yes, I know I only did two but still. You get the point. The reason I probably adore this DIY is probably because it’s my first fashion one for the series and it’s also something that every girl can wear. So here we go…
I simply adore flower crowns. I feel like an ethereal creature- like a nymph or a goddess as soon as I put one on. It’s a magical modern day crown that we can wear any day. I don’t know about you but I love feeling like a Princess and flower crowns really do it for me.
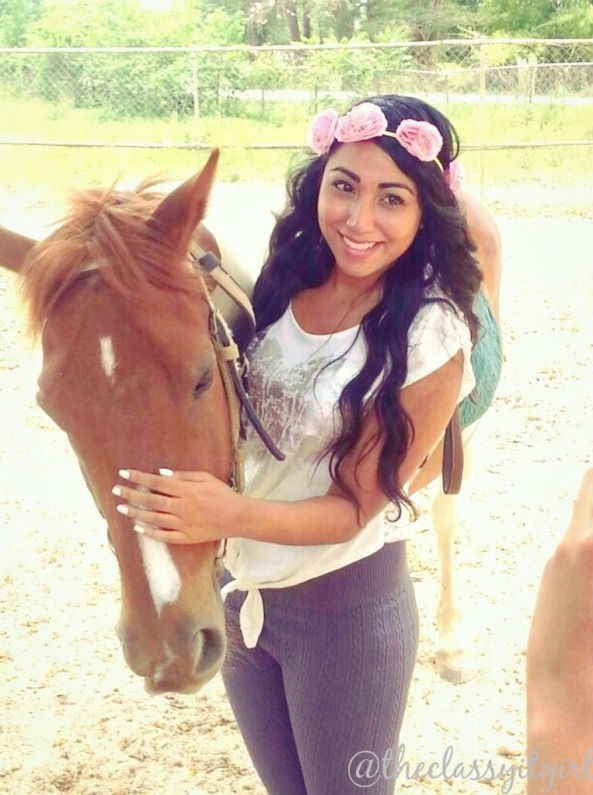
If you read my personal blog here, you would know all about my little horseback riding lesson yesterday with my bff Shanice Adrina. I thought it was the perfect time to wear our flower crowns.
For this project you will need :
-Fake flowers
I used the paper ones that you sometimes find on cakes [Trinidad: Samaroos $5 for 1 ] because they are so much easier to manipulate and they are already flat so you don’t have much problems attaching them. However, if you don’t find these, any other fake flowers will be perfect so just grab a bunch from your local craft store! You’ll just have to make sure that you spread the petals open when you place them on your crown so it will look nice and full.
– Headband/Ribbon
I got a pack of 12 silver and gold headbands [Trinidad: WW $6.00] that worked like a charm for this tutorial. But, if you don’t have a headband or you can’t seem to find any, don’t worry your pretty little head. A piece of satin ribbon [about 1 yard] will work fine. I actually planned to use ribbon in this tutorial but then I stumbled upon the headbands.
I realize that a lot of tutorials for flower crowns involve wire but ain’t nobody got time for that! Headbands or ribbon will be a stress free, worry-less DIY that you can finish in less that 10 minutes I promise you!
I am in love with the two flower crowns I made. The first one is a rose gold one get it? It has a gold headband with pale roses on it. The one on the left is a silver headband with peach roses. I certainly see myself making a lot more like these. Why buy when you could make your own right?!
I really hope you enjoyed today’s #MakeitinMay video/post. I can’t wait to share another one with you very soon. If you do make anything from this series be sure to tweet me or instagram me with the #MakeitinMay cause I’m super excited to see how yours turned out!
Lots of love and happy DIYing!
The Classy It Girl!